
Hood Warfare 2 · Start Here · Guide
Hood Warfare 2 Walkthrough — From First Launch to a Stable Loadout
A Hood Warfare 2 walkthrough in order: first launch and mode choice, learning the four map areas, building a loadout, and reaching a stable progression state.
By the Game Atlas team · Updated 2026-10-11
On this page (10)
- Step 1: Launch, and Pick One Mode
- Step 2: Learn One Map Area Properly
- Step 3: Build a Loadout You Trust
- Step 4: Get Progression Moving
- Step 5: Recognise the Stable State
- Is there a campaign to walk through in Hood Warfare 2?
- Which map should a new player learn first?
- When should I start customising weapons?
- What counts as a stable state in this game?
- Do I need to play online to progress?
Hood Warfare 2 does not have a story campaign, so a walkthrough here means the order to approach its systems rather than a sequence of levels. The path that works is: launch and learn one mode, then one map area, then one gun, then start rotating deliberately once all three are familiar. The store page gives you the pieces — six modes, four map areas, weapon customisation, and progression through reputation, challenges and kills — and this page puts them in a workable order.
Step 1: Launch, and Pick One Mode
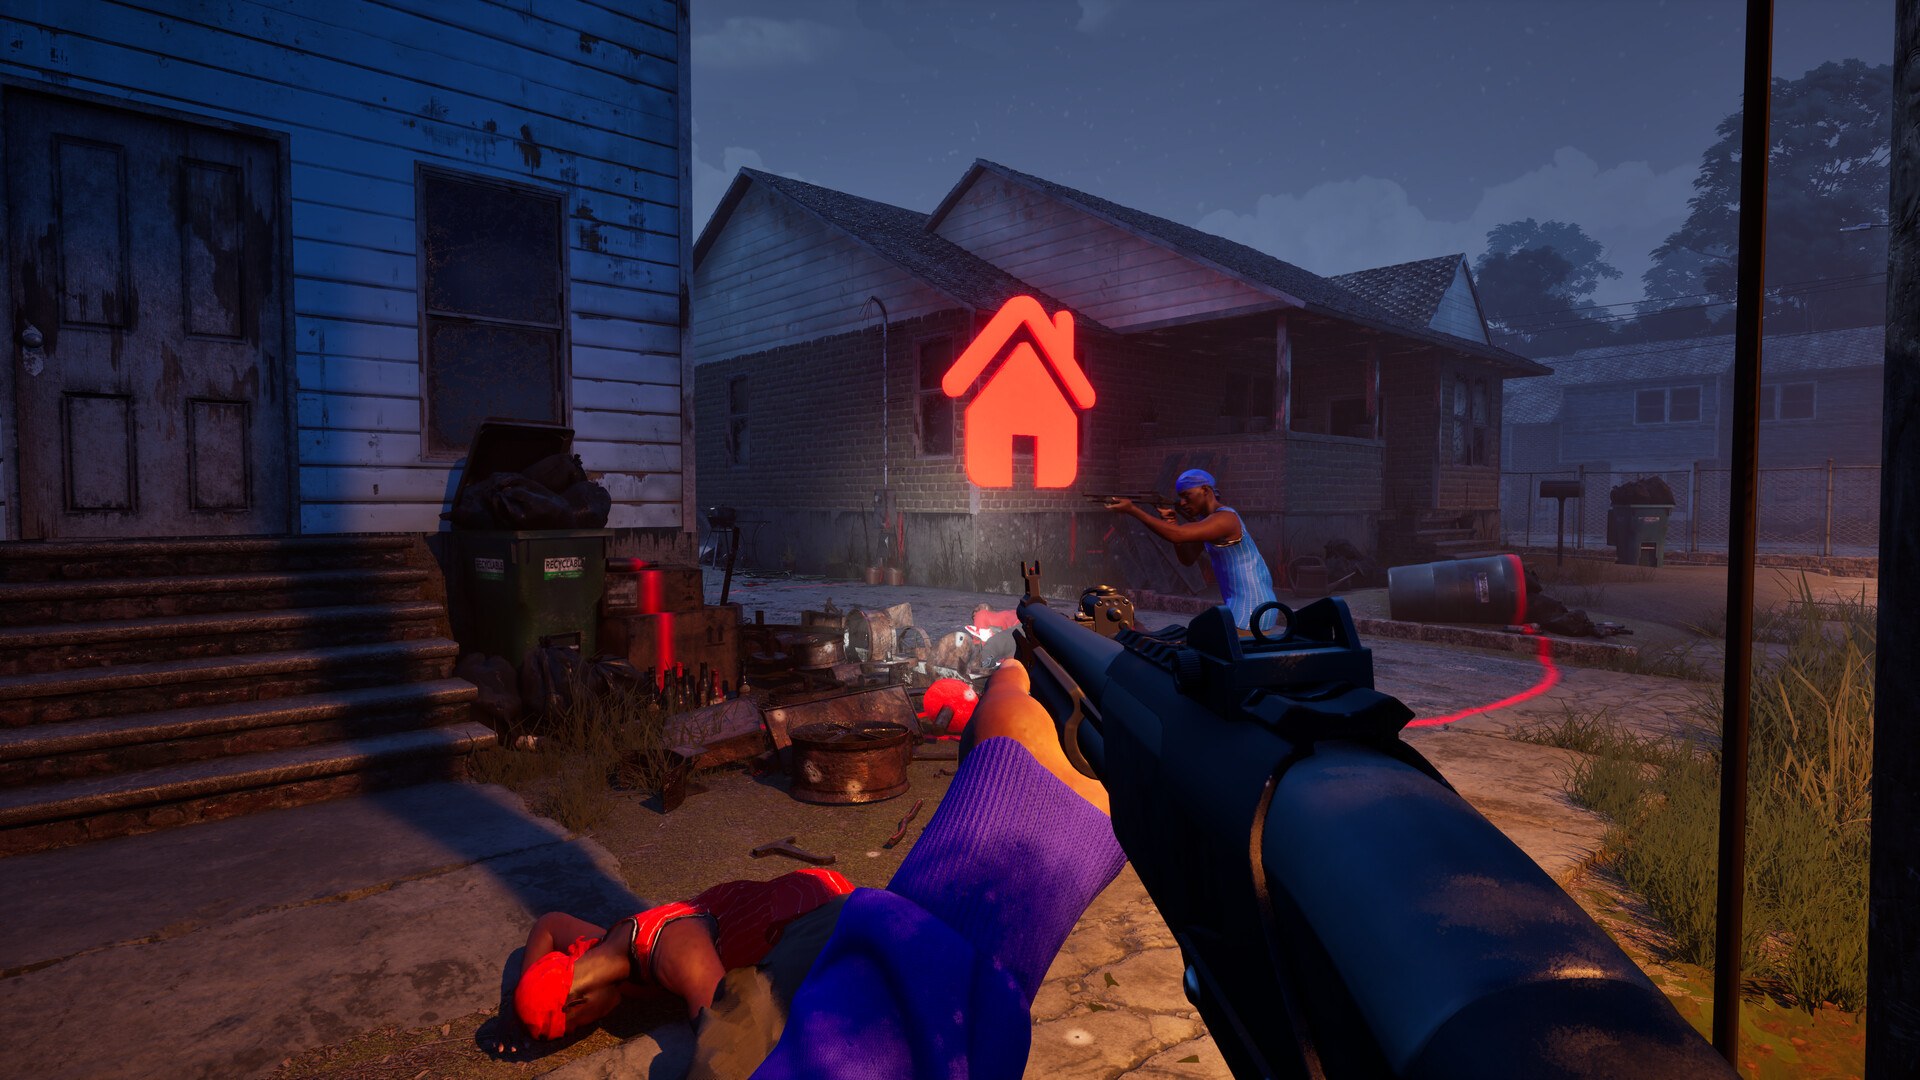
Your first decision is which queue to enter, and the store page gives you six to choose from: Turf War, GangBang, Chaos, Hit A Lick, Destroy The Block and Chain Snatch. Start with a team mode that has a shared objective rather than a one-life mode. Destroy The Block is the mode to leave for later, because the store page states it is played with only one life per round, which is an unforgiving place to learn basic movement and shooting. If you would rather not learn in public at all, the store page supports setting up a match against bots, choosing the map, mode and match settings and adding bots to fill out the teams.
Step 2: Learn One Map Area Properly
Four map areas are named: downtown, the suburbs, The Trenches, and Chicago Mall. The store page does not rank them by difficulty, so the practical move is to pick one and stay on it. What you are learning is not the scenery but the routes: the store page stresses that each map has different routes and positions to learn, and that you can hold down the streets or take the fight indoors. That means every area has at least two distinct ways to move through it, and knowing which one your team is committing to is worth more than knowing where the objectives are.
Step 3: Build a Loadout You Trust
Once you know a map, the loadout screen becomes useful. The store page says you set up your loadout with perks and equipment before heading into a match, so this is a pre-match decision rather than a mid-match one. Pair that with the gun itself: customisation covers sights, magazines, grips, suppressors and other attachments, and attachments are earned through weapon challenges. The efficient order is to settle on one or two weapons first, then spend your challenge progress on them rather than spreading it.
| Step | What to do | What the store page supports it with |
|---|---|---|
| 1 | Pick one team mode | Six modes named, all fillable with bots |
| 2 | Learn one map area's routes | Four areas, each with routes and positions to learn |
| 3 | Commit to one or two guns | Attachments from weapon challenges, skins from kills |
| 4 | Rotate modes for unlocks | Reputation leveling unlocks weapons and equipment |
Step 4: Get Progression Moving
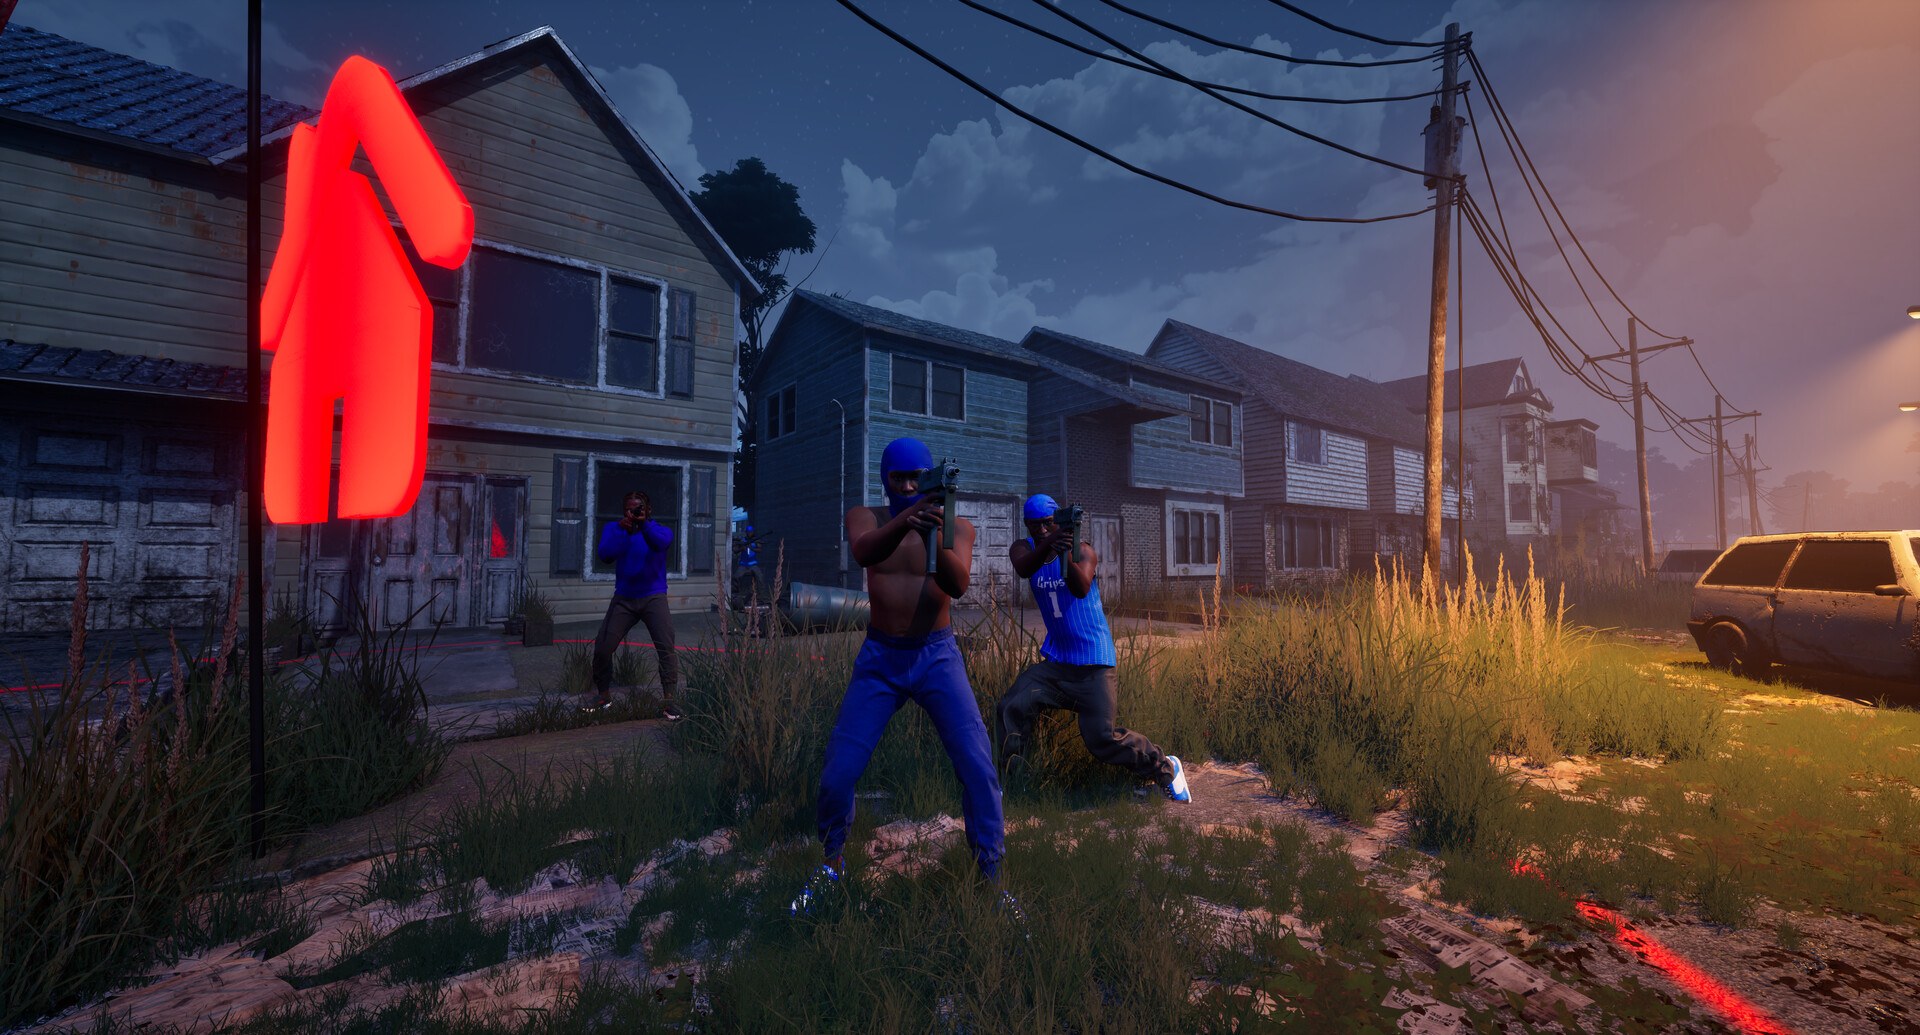
Progression has three parallel tracks, and the walkthrough step here is to make sure all three are advancing. Leveling up your reputation unlocks more weapons and equipment, weapon challenges unlock attachments, and kills with each gun unlock skins. Because they are earned by playing rather than bought, rotating modes keeps you touching new unlock conditions. Steam also lists the game under Single-player, Multi-player, PvP and Online PvP with full controller support and Family Sharing, so nothing about the progression requires a specific input method.
Step 5: Recognise the Stable State
There is no final boss here, so the stable state is a set of conditions rather than an ending: a loadout you trust, at least one mode you win in, one map area whose routes you know without thinking, and all three unlock tracks moving. Once you are there, the natural next move is to expand — a second map area, a second mode family, or a second weapon — rather than to grind one queue harder. Whether the developer plans ranked play, seasons or additional maps is not documented yet.
For the mode rules in detail see game modes; for the systems behind the loadout screen see gameplay; and if you are still deciding whether your PC is ready, check the system requirements.
FAQ
1.Is there a campaign to walk through in Hood Warfare 2?
No. The store page describes multiplayer modes rather than a story, so this walkthrough covers the order to approach the game's systems: mode choice, map learning, loadout building and progression.
2.Which map should a new player learn first?
The store page names four areas — downtown, the suburbs, The Trenches and Chicago Mall — but does not rank them by difficulty, so pick one and stay on it until you know its routes rather than rotating all four.
3.When should I start customising weapons?
Once you have settled on one or two guns. Attachments come from weapon challenges and skins from kills with each gun, so a focused build finishes those tracks faster than spreading kills across the arsenal.
4.What counts as a stable state in this game?
A loadout you trust, a mode you win in, and unlock tracks moving. The store page ties progress to reputation leveling, weapon challenges and per-gun kills, so a stable state means all three are advancing rather than a story ending.
5.Do I need to play online to progress?
The store page ties unlocks to playing matches and leveling up, and it lists bot matches as a supported setup, so a match against bots is a documented way to play the game's modes.
More in Start Here
More start here pages in Hood Warfare 2.
References
- Hood Warfare 2 on Steam
- Hood Warfare 2 app details (Steam Web API)
- Hood Warfare 2 Steam Community hub
- Hood Warfare 2 news hub on Steam
Facts on this page are compiled from the references above. Items marked "to confirm" are single-source and not yet verified.