
The Sinking City 2 · Start Here · Guide
The Sinking City 2 Walkthrough — Safe Code
A The Sinking City 2 walkthrough: the chapter route from the Annex to the Badlands, every safe code and puzzle answer, and the collectibles to grab.
By the Game Atlas team · Updated 2026-10-06
On this page (8)
This The Sinking City 2 walkthrough follows the route the game forces, from the final evacuation of Calvin's home through the flooded districts to the Antarctic temple. Each area is gated by a key item or a watergate, so the order below is fixed, and the safe codes and puzzle answers are collected in one table so you can solve a lock without leaving the page.
The route in order
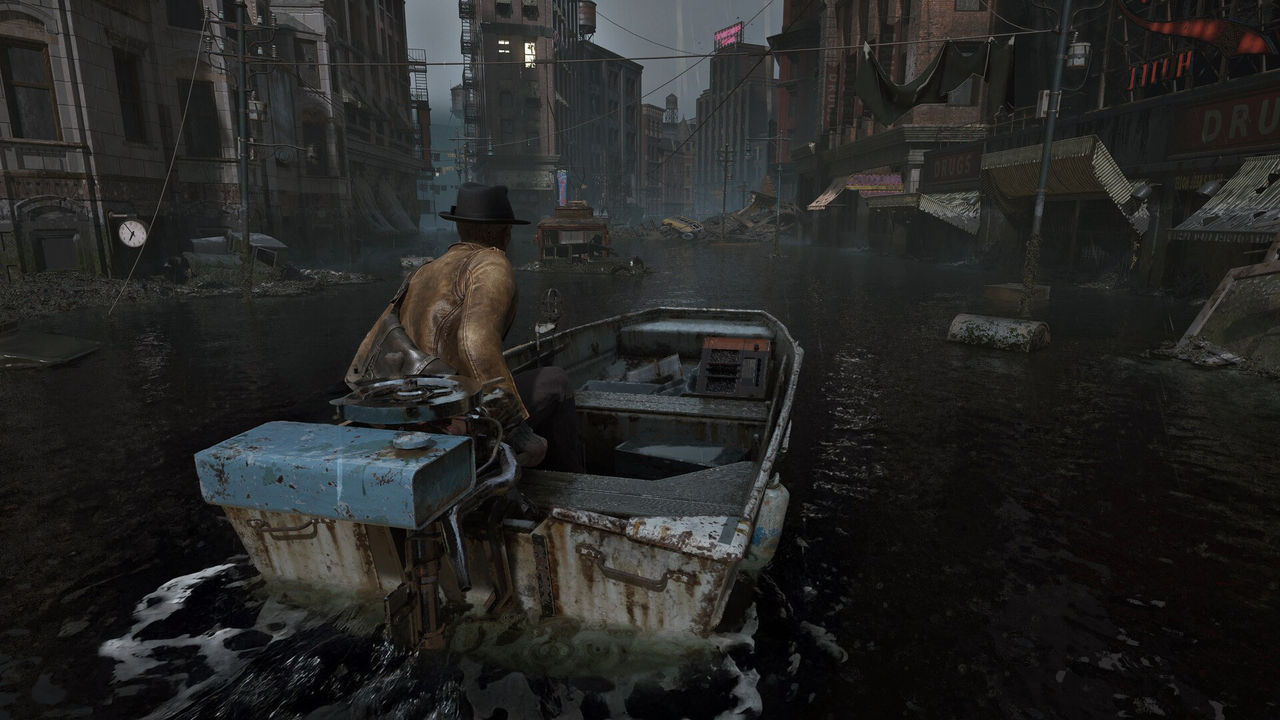
The campaign opens in Calvin's home, then drops you into the flooded city. You take the boat through the streets to the Apartment Building and the Radio Store, then push on to the Miskatonic Library Annex. From there the path runs through the church, the fire station, the printing house, the hotel, the hospital, the fish market and finally the Badlands.
- Part 1 - Reaching the Library Annex: Home, Apartment Building, Radio Store.
- Part 2 - The Annex: sliding bookshelves and the Restricted Section.
- Part 3 - The Church: Star key, Trident, obelisk and watergate.
- Part 4 - The Fire Station: Gas Canister and the crane repair.
- Part 5 - The Printing House: three Printing Plates and the press.
- Part 6 - The Hotel: Lorelei, Lorelei Chests and the generator.
- Part 7 - The Hospital: the Eye, three Nightmares and the rifle.
- Part 8 - The Fish Market: Deep Ones, the Shoggoth and the portal.
- Part 9 - The Badlands: the Antarctic temple and the Slither Prime.
Safe codes and puzzle answers
GameSpew and Neoseeker between them document every lock, and the safe codes are the ones players search for most. The table below lists them with the location and the answer as published.
| Lock | Location | Answer |
|---|---|---|
| Wall safe | Apartment 5, before the Annex | 1908 |
| Watergate lever | Outside the church | 1672 |
| Hotel safe | Devil's Reef Hotel, Room 301 | 2137 |
| Storage room lock | Hospital basement | 1308 |
| Brains console | Hospital Wireless Room | 13, 05, 36 |
| Wooden lock | Fish Market East Wing | 1, 4, 9, 16 |
| Obelisk | Behind the church | Snake, X, Arrowhead, U |
| Cursed press | Printing House secret room | Top right corner, middle, middle right, bottom left corner |
Two of these need a key item first. The obelisk needs the Star key and the Trident from the church, and the Fish Market locker needs the bolt cutters from the weighing station before the symbol lock will even appear.
Collectibles, saves and what is missable
Two collectible sets are achievement-linked and missable within a run: ten Mushroom Jack radios and thirteen Emergency Relief Crates, the latter needing an E.R.C. Activator Pen. Documents are not tracked but often carry the clue to the nearest safe code, so read them as you go.
- Save manually at safe rooms; the autosave only fires at major checkpoints.
- Safe rooms also hold the Talent table and the stash.
- Sweep each district fully before leaving, because backtracking is limited.
- Eight Ex Oblivione writings only appear in New Game Plus.

For the systems behind the route, read the guide. For completion tracking, use the trophy guide.
FAQ
1.Where does the walkthrough start?
It starts in Calvin's home during the final evacuation, then moves to the flooded streets, the Apartment Building and the Radio Store before the Miskatonic Library Annex. The first safe and the first fuse box are both in this opening district.
2.What is the first safe code?
1908. The safe is in Apartment 5, and the clue is the note saying the neighbouring shop opened 21 years ago, which against the in-game year of 1929 gives 1908.
3.How do you open the first watergate?
You need three fuses. Put the I-shaped fuse on the left, the T-shaped fuse at the top and the L-shaped fuse on the right, rotating each to fit, then pull the lever beside the power box.
4.Which areas are the biggest?
The Hospital and the Fish Market. Neoseeker gives each of them three separate walkthrough parts, and between them they hold most of the Emergency Relief Crates and several weapons.
5.Can you go back to earlier areas?
Rarely. The guides warn that you cannot return to previous chapters or areas once you leave, and missed collectibles do not carry over to New Game Plus, so sweep each area before moving on.
More in Start Here
More start here pages in The Sinking City 2.
References
- The Sinking City 2 Walkthrough and Guide
- The Sinking City 2 walkthrough - Full guide with puzzle solutions
- The Sinking City 2 walkthrough and guide Part 1
- The Sinking City 2 on Steam
Facts on this page are compiled from the references above. Items marked "to confirm" are single-source and not yet verified.